Tuesday, January 12, 2016

FUL - Together!


Together!

We've sure been that, almost 25 years already! Through thick and thin! Today I would like to share with you the process of making this more masculine layout. 

Most of the items I've used are from this months Your Passion Your Art - Main Kit, the Small Art Big Passion Kit and the Mixed Art Passion Kit and some things from previous kits and things I had lying around. I also finally got a around to use the new Prima Metal Die - Vintage Clock.


I started of with one of the sheets from the 13 @rts Secret Letter Collection and adhered some corrugated cardboard to the right hand side of the paper. All I used was a part of one of the boxes my kit came in. Recycling at it's best. Just rip off the top and it looks best if it's not too neat. 


I cut out a square piece of paper (6x6) and a different piece (4x6) ran the die through my machine twice. Once with a black piece of backing from a Prima Flower pack and once with paper from the 6x6 pack in the Small Arts Kit. Some inking around the edges and we're ready to start sticking it down. 

Since I want to keep the colors on this layout to a minimum I used to top of the flower pack as a tag and backing for my pictures. From last months kit I used the cute wooden ruler as an accent and cut arrows out of jute ribbon. 


The basics of my layout are done, we just have to decorate with flowers, a title and some other litle things. 


Below a few more close-ups of my layout and a list of used  products. 


Thank you for looking!

Have a fantastic day!


Saturday, January 2, 2016

FUL - Love! Forever Memories!

Hello my scrappy friend!

This months Flying Unicorn KOM is the kit that keeps on giving.

I'm presenting you my third layout and I still have plenty of papers left to keep going. Of course there is a little trick. Instead of using full pieces of paper, it's smarter to just use strips. It does give the idea that you're using the whole piece, but it does look good. 


When you distress it some and accentuate it with Tim Holtz Distress Ink it will stand out a little bit more. To prop up the photo I tore some more pieces of paper and backed them with cardboard. I had an extra doily sticker I used on the bottom of the page. Broke one of the metal elements in halve and stuck that on top of the doily. Glued some silver rhinestones on it and had also put part of a flower there with a metal element.


The other half of the metal ornament is tucked in on the left halfway under the flower arrangement. 


The large flowers I sprayed with the 13@rts Pastel Dirty Pink Mist from the Mixed Art Kit. Just to make the flower stand out a little more. I assembled the flower arrangement from the flowers I had left from the kit. 


I still had a nice Prima Resin left from a previous kit. I gave the wings some detail with 13@rts silver Water Splash Ink.  


The tittle I sprayed with 13@rts Pastel Dirty Pink and Woodbine spray to give it a variegated look. Coated with glossy accents.


I'm thoroughly enjoying this kit. It's got the creative juices flowing. I hope you've enjoyed looking at the process of my creation.

Below is a list of the products I've used:


Thank you for looking!

Have a happy scrappy day!


Happy New Year - Moments!

Happy New Year my Paper Friends!

Hope you're all enjoying the long weekend and that the festivities have been fun. Let's get this new year started with some great layouts and get inspired!

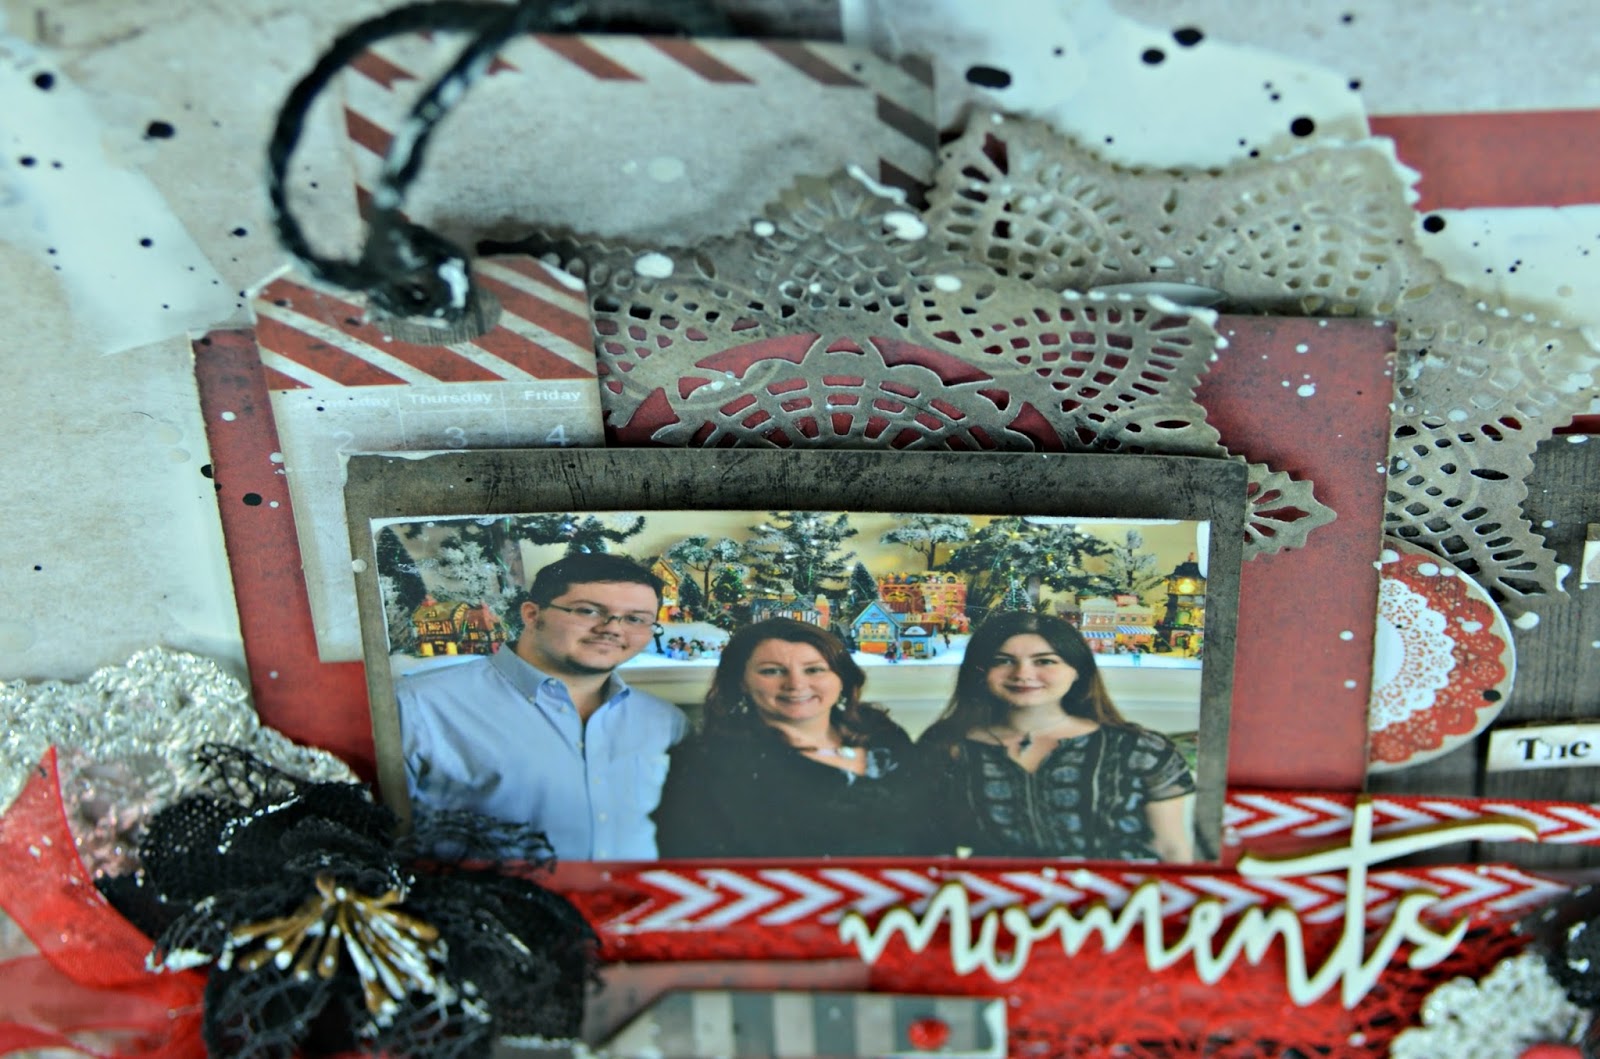
This is my second layout using the 7 Dots - Yuletide papers. They're so nice and modern. A change after all the more classic papers I've used so far this year on my Christmas layouts.

As usual I get most of my supplies from Flying Unicorn. They have so many quality products. 

For this layout I use a similar base as the previous one, but switched the sides. A 3 - 31/2" piece of paper on the left side of the LO and a different design on the rest of the page. It gives a nice background.


From the kit I used a couple of pieces of paper to create some layers, backed with the usual pieces of cardboard to give it some more depth. With a third piece I used the Prima Metal Die-Crochet Doily for a nice detail. With the paper pack there is a whole 12x12 sheet full of different tags so there is plenty to pick from. 


From my stash I picked several lace and ribbons to create some details at the bottom of the layout. To have a layout in just the 3 colors keeps it nice and clean.


Before putting down the flowers I wanted to use the same kind of crochet doilies as in the other layout. This kind the silver ones. It ties the two layouts together. It brings out the colors. 


With this one I didn't want to over do it with the flowers. Just a couple on either side. A few red rhinestones here and there for a little detail.


The title was part of the 13@rts sheet we got in the January Flying Unicorn KOM. I painted it with the 13 Arts Silver Splash Water Ink. 


With the same Splash Ink I splashed over the page and also got the black Splash Ink. 


A couple more sentiments on the right of the layout and we're done. 

I hope you like the process.

The products I used:

Gesso
Various ribbons from my stash

Thank you for looking!

Have a happy scrappy day!

Friday, January 1, 2016

Flying Unicorn Small Arts - Be Happy - Just for you!

Happy New Year!!

My third show and tell for the Flying Unicorn KOM is my card and tag set made with parts from the Small Arts Big Passion Kit.

We got an abundance of gorgeous items in that kit this January. A 6x6 pack of the Secret Letter Papers by 13@rts, That  beautiful Prima Resin Shabby Chic elements. And so much more. Perfect to make some girlie, shabby chic cards and tags. I also used the stamp we got with the Mixed art kit. 


I covered the Tag (a black tag left over from a previous kit) with one of the sheets from the 6x6 pack. Used some card box for layering and layered some more pieces of different papers. The stamp I kept simple, I only embossed it with black and cut out. Sprayed the resistance tag in the Small Arts Big Passion kit with the 13@arts dirty Pink Mist from the Mixed Art kit. Assembled the layering. Added some lace, flowers. Tied a ribbon on the top and gave it the Be Happy sentiment. The Tag is all done! 


For the card I wanted to use a new die I got. It's a new Prima one and Alda has them in the store. So beautiful and elegant. It so matches the shabby Chic tones of this kit. Also matched it with the new Leave dies. It didn't need much else. Just some flowers a title some ribbon and the gorgeous resin element. This card was done in no time at all.


I hope I've given you some inspiration to use your different kit. I for one could never decide which one to have. I always want them all. They so compliment each other.

Below is the list with items used:

Black tag from a previous kit
Card Stock card
Ribbon

Thank you for looking!


Thursday, December 31, 2015

FUL-KOM Happy!

Hello Paper fans!

Here is the second layout I made with the Flying Unicorn January KOM. The papers are by 13@rts the Secret Letters line and they are just gorgeous. I used the music note stencil with white 13@rts gesso and silver gesso with the sentiments stencil. 


One of the sheets of paper has all kinds of smaller tags, doilies and butterflies you can cut out, so I did that to create some layering for under my picture. 


The ribbon was small art big passion kit, I sprayed the big pink flower with the darker pink mist we got in the Mixed Art Kit. The title I covered with Finnabairs snow. 


And there you have it the second layout for my CT for Flying Unicorn. 
I was so glad my Sisters grandson had such cute Christmas photo's I could use for my first kit. The color scheme just worked perfectly with the kit.

Thank you for looking!

Below a list of items I used:

Finnabair Snow
.

Have a crafty day!

Have a Happy and Creative 2016!


OTP-Coasters & Holder - Life is Sweet!

Hello Paper Fans!

I'm so proud and honored to be showing you all the projects I've made for the Flying Unicorn Creative Team!. The Kit this month is so beautiful. Romantic, shabby chic, or modern so many options, so many possibilities. Just check in regularly and you'll see ;)!

The Off The Page project this month is a Coaster set. Functional and pretty.
The 13@rts papers are a beautiful collection and I choose to cover both the coasters as the holder with them. The edges of the holder I first painted with gesso. After that was dry I mixed the 13@rts Silver Glitter painted with some of the Prima Mica powder we got in the KOM. It gives a little pink hue to the Silver glitter.


On the left hand side corner I decided to give it a torn scroll look so it needed 3 layers of different paper. All the elements in the kit are so nicely suited together. 


The back of the coasters I panted first with 2 layers of thick white gesso in a criss-cross pattern and after that 2 more layers in 13@rts matte silver paint again in a criss-cross pattern. It now was nicely coated. For the fronts I choose 4 different pieces of paper. Two in the grey colors and 2 in the pink/maroon colors. In the right bottom corner I used the stencil to spray 3 little butterflies on them in the opposite colors.


Decorating the box with some flowers, ribbon, a wooden element. It came together rather nicely. All it needs is a nice little tea set and we're good :)!


A little close up! 


Except for the big pinkish flower everything used was part of one if the kits.
I really enjoyed putting all this together. When I saw this, I almost instantly knew what I wanted to do with it. Loved the project. Hope you have as much fun with it as I did. 

Thank you for looking!

Have a scrap-tastic day!

Wednesday, December 30, 2015

Love This!

Hello all!

This is such a beautiful and if you want, versatile Kit. When you first look at it you think lots of pinks but there is so much more to the Flying Unicorn January KOM.
My niece sent me these cute pictures of her little boy Daan. It's his first Christmas and I just knew I had to use them for my first ever Creative Team designs. I hope I didn't disappoint.


I started out with using the Prima - Music bar stamp and stamped it in a cross, On the right side of the page. Fanning out toward the center. When that dried I used the 13@rts Stencil in the Mixed Art Kit with all the sentiments and basically used that same cross section to cover with paste. Now comes the fun and messy part. I splattered the Gold/Black/Silver/White Splash-water Inks over the same are, as the baby blue Inklingz. Just to tie-in all the colors from the picture.


The photo I matted with a frame we got from a previous kit and papers from the 6x6 stack part of the Small Art Big Passion Kit. A gold doily to off set the colors and tie it all together. From a previous kit I still had the metal Prima ornaments and they just looked wonderful with this. I changed the color of one of the pink flowers in the SABP Kit by painting it with the Gold Splash-Water Ink. I did the same with the Title.


I used some gold and white berries to compliment the photo. Used flowers from the kit and a couple from my stash.


A few more accents with the Splash inks on the flowers. 


And another close-up!


It's been a complete joy working with this kit. So many options. Can't help to go all festive this time of the year, and it doesn't even have to be pink as you can see.

Below is a list of used products:

Michaels Christmas picks


Thank you for looking!

Have a fabulous day!